I get a lot of emails/messages with questions about techniques and ideas, and sometimes it takes me a really long time to answer them….Usually because I want to answer thoroughly and have difficulty setting aside the time to do so. I thought I’d answer some of your questions here, as the information may be of interest to others as well….
When I am dyeing my felt work, silks for felting, or yarns for my fibre company, I most often use a simple immersion technique for achieving multiple colours. I enjoy the very hands on aspect of adding colours in this way, working directly over the dyepots, and adding dye as needed to the pots to achieve the exact colouring on the felt or fibres.
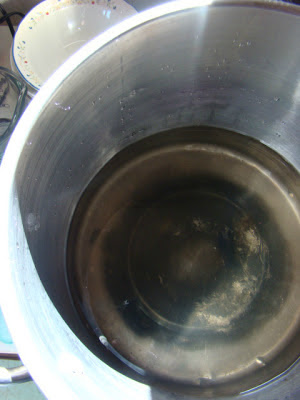
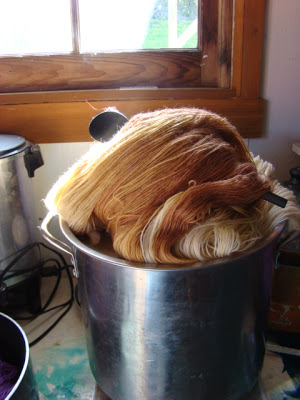
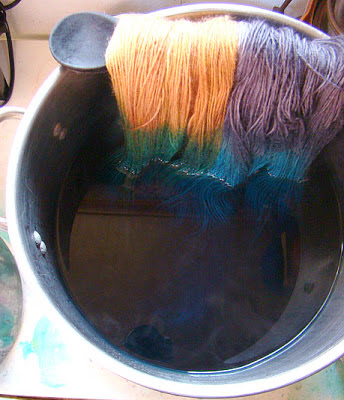
I use a big dye pot, filled only with about 6 inches of water. Having only a small amount of water keeps the majority of the fibers out of the dyebath without having to hold the fibres high up above the bath.
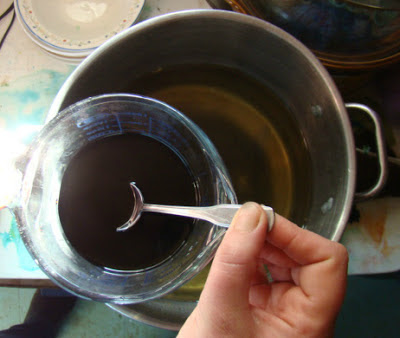
I add the acid and the dyes to that bath. I usually use citric acid, available for relatively low cost at brew your own wine and beer shops, but do use ordinary vinegar in a dyeing emergency when I have run out! The citric acid does not have the strong smell of the vinegar and is less expensive if you are doing a lot of dyeing. I mix up my dyes in a measuring cup with some water, to ensure the dye powders are entirely in solution, then add the dye to the bath. To dye a small section of yarn, a medium to deep colour, dyeing six skeins at a time, I will use about 1/2 teaspoon of dye powder. (Note: be sure that work with the dye powders in a well ventilated area, wearing a dust mask!)
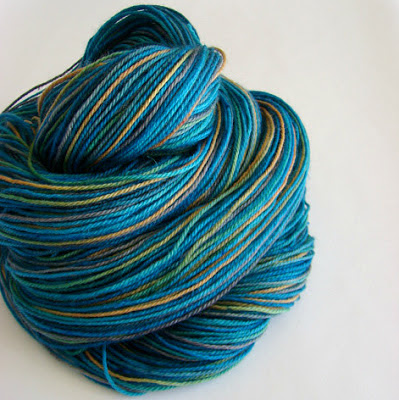
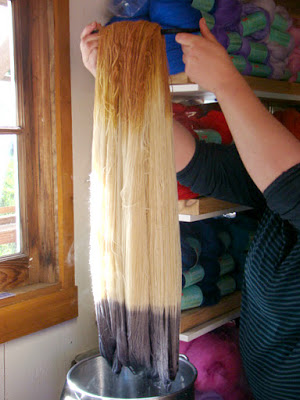
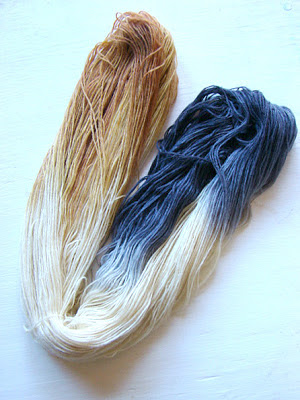
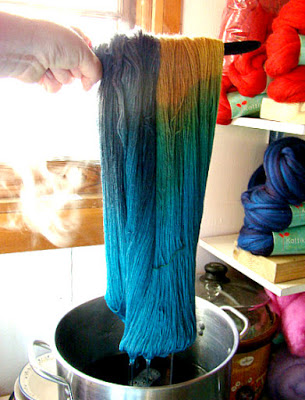
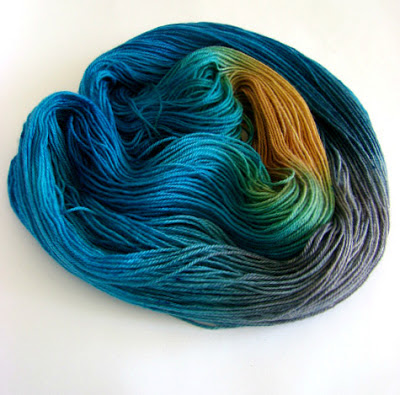
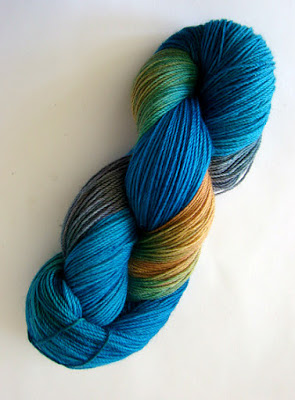
I dip only a small section of the wool into the pot at a time, and leave that colour to steam and exhaust the dye bath completely, before rotating the skein and dyeing the next section. For this tutorial, I am dyeing my Seaglass colourway, and have dyed the top 4 -6 inches in tobacco, then the bottom 4-6 inches in silver grey. The yarns are quite damp, because I want to colour to migrate up the skeins a bit, to get a graduated colour shift. The dyeing shown here will produce a yarn that is predominantly turquoise blues, with small sections of grey, green, and ochre.
I don’t rush the process at all….I make sure that each section is fast
before moving on…but much of this time is passive so I can work on other projects while the dyes are setting. Sometimes I create a hanging rack to suspend the yarns over the dyepot, but if I am working only on small batches or on felt pieces, I position the fibres at the desired depth in the dyebath, place the lid on top of the pot, and drape the extra fibres over the top if the lid. In this way only the section I need to be dyeing and setting remain in the pot, and my hands are free to do other things. The colours in any previously dyed sections are already set, so the colours will not bleed out in any way on the rest of the fibres. It’s all very low tech….but simple and highly functional for me in my studio.
Here are the results so far. Each end is dyed in a neutral colour. Now I will dye it in the main colour, a handblended mix of blues.
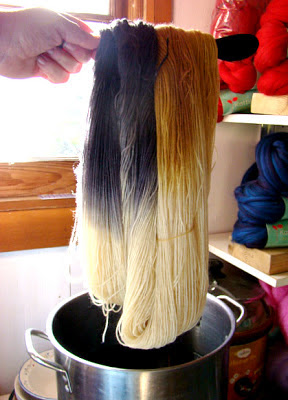
Both of the dyed ends are looped over the spoon, so that both undyed sides of the yarn can be immersed in the bath. I have added extra water to the dye pot now as there is more fiber to be immersed.
An initial dipping, to get a basic coverage, plus get a light, transitional overdyeing at the ends.
Now I will leave most of the fibres in the dyebath to develop the colour and set.
I just use my trusty wooden spoon to hang the fibers over the dyebath. I cover it with the pot lid and leave at a low simmer for about 20 minutes then turn off and leave until the dye bath is exhausted. Then rinse as usual.
I plan my colourways so that there will be small amounts of overdyeing in each section.
Blues and reds I always dye last, and leave overnight in the dye bath to ensure they are very well set.
Using this immersion technique, I can get a handpainted effect, but without the sponges/brushes/applicators, or the use of plastics to wrap it all up in to steam set. I handpaint only occasionally if I need only a very short run of colour- so short I can not achieve it through immersion.
I
have found I can have up to 5 different dye applications on an ordinary
skein of yarn, so with all the over dye effects also, that is an amazing
range of colour….
This method also works very well with natural plant dyes….
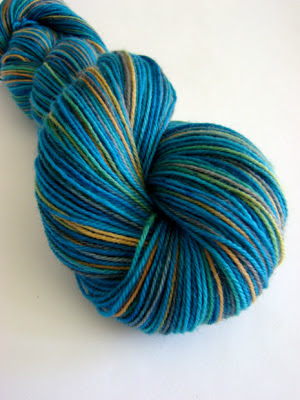
After the dyeing process is complete, I usually reskein my yarns, as customers love to see the colours blended together in the skein. It looks more as it will when knit or woven. Reskeining feels like the completion of the process for me- it tidies up any loose thread…..
I hope this is helpful….in writing this I came across my notes that are part of a dyeing class I teach. I’ll post the introduction to acid dyeing here next…a little backward…but better written than not!
Also coming up, tips on felt bag making, and fibre arts and internet….
But for now back to the felting table!
Warm wishes,
Fiona


Thank you for the detailed and very useful instructions. Your yarn is beautiful and I can't wait to try this myself!
This is really helpful, I feel quite inspired to do a bit of experimenting
Love your work, Fiona. Thanks so much for the mini tutorial – I am put off hand painting roving because of the colour pooling but I'll certainly try this way.
thank you! this is very helpful and how nice for us to see it from start to finish without the wait in between. you DO make it look easy! and i love the results. thanks again.
Great information, thank you so much Fiona!
Hi Fiona, thank you very much for showing this ! In fact it lóóks very easy, but I think it takes a lot of experience to make such yarn for your shop 😉 !!!
The colours are gorgeous (ha: just a bit like your jacket)